It is easy to get excited about choosing tiles, fixtures, and colors when you plan a Bathroom Renovation. But before you dive into the fun stuff, you need a clear plan. The advantage of knowing the right order for your renovation can save you time, money, and stress all at once. A well-planned sequence would help you to ensure that everything runs smoothly, from demolition to the final touches, without costly mistakes or rework.
The idea of partnering with Best American Builders can take your bathroom project from concept to completion with expert precision. Their team does understand how proper sequencing impacts both quality and efficiency. They have helped homeowners to avoid the pitfalls of poor planning, like installing flooring before plumbing or painting before ventilation work is done.
Step-by-Step Guide to the Bathroom Renovation Process
The Bathroom Renovation process might become much smoother when you understand what comes first and why. Each phase builds upon the last, which ensures your project stays organized and your result lasts for years at the same time. So, let us walk through what to do and in what order to get your perfect bathroom makeover.
Plan and Design
It is interesting to know that every successful Bathroom Renovation begins with thoughtful planning. Take time to evaluate your space, budget, and goals. You may consider the layout changes, like relocating the shower or sink, before choosing design elements if you are aiming for a few upgrades. It would be wise to map out your vision with the accurate measurements and a clear budget that play a role in setting the expectations and prevents surprises later.
A professional designer or contractor can help refine your ideas, ensuring your bathroom is both stylish and functional. They can also help you when it comes to selecting durable materials suited to moisture-rich environments.
Demolition
It can be considered a perfect time to clear the old to make way for the new once your plan is set. The step of demolition does involve removing the old tiles, fixtures, vanities, and sometimes even drywall or flooring. This step can uncover hidden issues like mold or water damage, so beware. Discovering such problems early might help you in addressing them before installation begins, which saves you future headaches.
It is important to know that hiring experts would definitely ensure the demolition gets done safely and efficiently. They have good knowledge regarding how to manage debris, prevent structural damage, and identify the potential plumbing or electrical concerns before they become costly repairs.
Plumbing and Electrical Work
It is the perfect time for the behind the scenes essentials like plumbing and wiring after the bathroom is stripped down. This is one can be taken as one of the most critical phases in any Bathroom Renovation, as it will ensure the space functions properly. There are licensed plumbers and electricians who handle this stage to guarantee everything meets the code and operates safely.
This is when you will install or relocate pipes, drains, outlets, and lighting connections. You can move confidently to the next phase knowing your bathroom’s foundation is solid once these systems are tested and approved.
Walls, Flooring, and Waterproofing
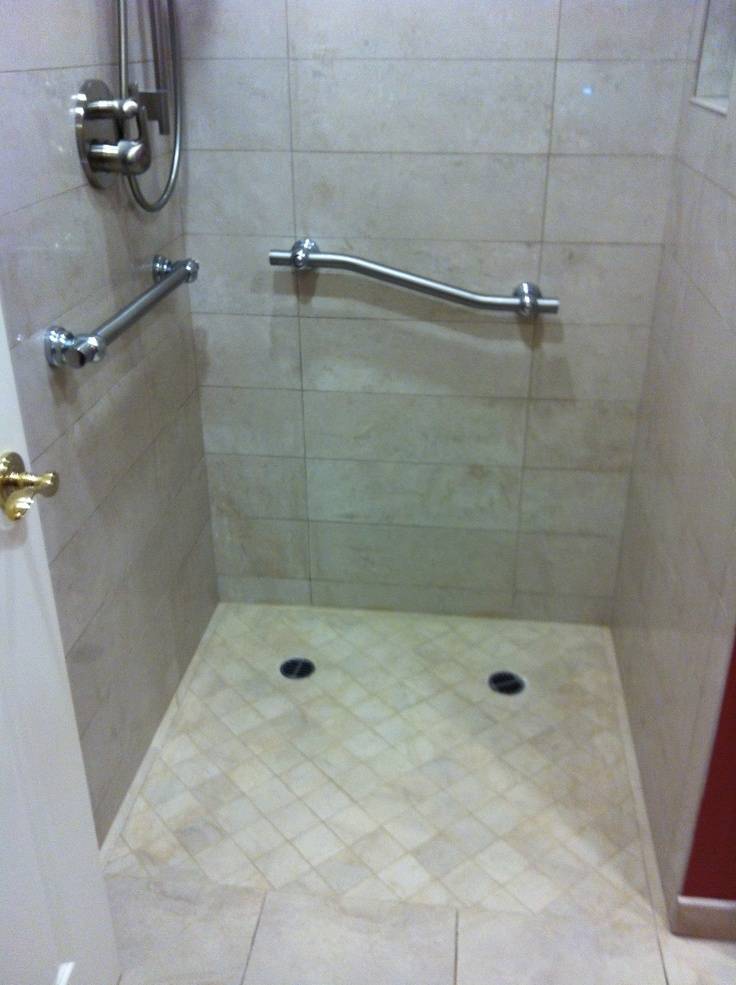
Now it is time to rebuild the structure of your bathroom after the rough-in work is complete. Install drywall, backer boards, and waterproof membranes where needed and especially around the tubs and showers. Proper waterproofing is non-negotiable as it will protect your investment from mold and rot.
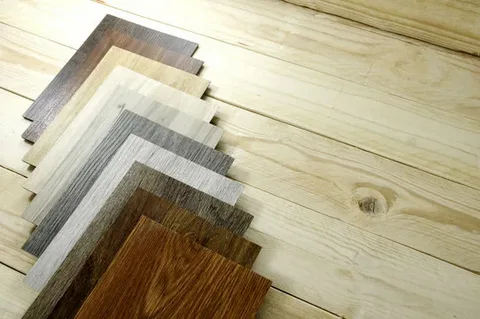
The flooring installation can begin once the surfaces are sealed. You may choose the materials that are water resistant, like porcelain tile, vinyl, or natural stone, for a modern and reliable look.
Install Fixtures and Features
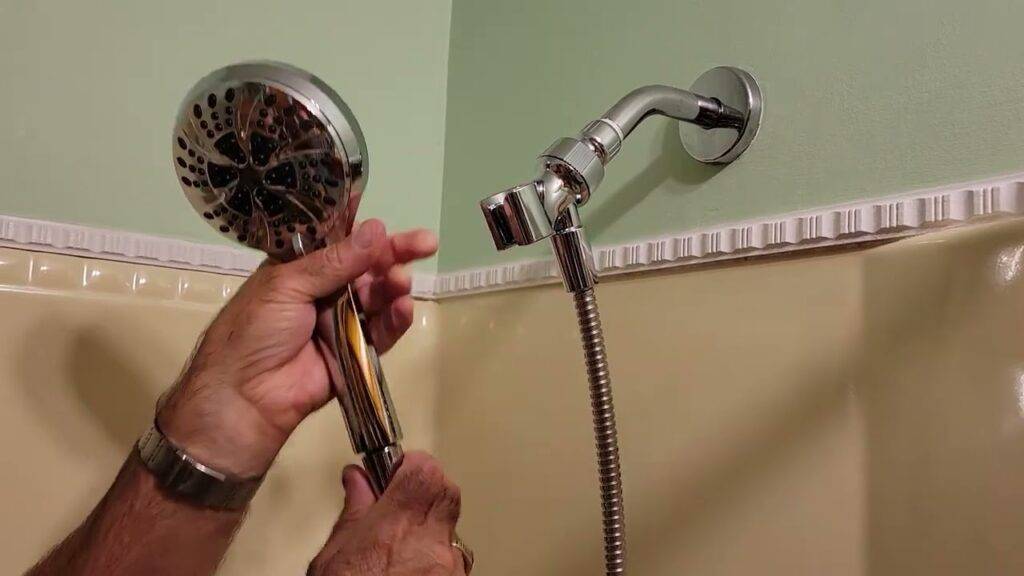
The installation of Fixtures and Features consists of materials like sinks, faucets, toilets, tubs, and showers, which go in during this stage. If you are updating lighting or adding smart features, then now is the perfect time. You must know that precision is key, and misaligned fixtures, sloppy sealant can lead to leaks or uneven finishes.
It is necessary to know that a professional installation would ensure not only beauty but also long term performance too. This is the exact step when the mirrors, vanities, and towel racks are mounted and make the space feel complete.
Finishing Touches
The final step in your Bathroom Renovation is all about the minute details. The steps of caulking, painting, and accessorizing bring your space to life. You might choose the moisture resistant paint when it comes to avoid peeling and ensure long lasting walls. The addition of finishing elements like plants, artwork, or decorative lighting makes the room inviting and personal.
The Final Thoughts
There are homeowners who would underestimate how critical order is during a Bathroom Renovation. The execution of doing things out of sequence, like painting before installing fixtures or flooring before plumbing, can cause expensive mistakes. The right order would keep the process efficient, prevent rework, and help you maintain the quality throughout the build.
FAQs
1. How long does a typical Bathroom Renovation take?
A typical Bathroom Renovation takes anywhere from two to six weeks.
2. What part of a bathroom renovation costs the most?
Plumbing and tile work typically make up the bulk of the budget.
3. Can I renovate my bathroom myself?
You can handle cosmetic updates, but electrical and plumbing should always be left to licensed professionals.
4. How can I make my bathroom renovation more affordable?
You can keep the existing layout, choose mid-range materials, and plan carefully to avoid last-minute changes that drive up costs.
5. What’s the best order for a full bathroom remodel?
Plan, demolish, rough-in plumbing and electrical, install walls and floors, set fixtures, then finish with paint and accessories.


